
Use Google Business Profile products when you sell physical items locally and either lack barcodes or an e-commerce store: choose the Product Editor for manual, one-off listings, Local Inventory or POS sync for barcode-backed in-store catalogs, and Merchant Center for broader ecommerce reach. Watch the Shopping Ads policy before you publish, and know that Product Studio’s scene generation only works in the United States.
TL;DR:
- Choose Product Editor for manual listings without barcodes or ecommerce feeds, Local Inventory sync for barcoded POS catalogs, and Merchant Center for online stores.
- Automatic syncing requires a verified profile, UPC or EAN barcodes, and compatible POS software; it replaces manual listings at that location.
- Review Google’s Shopping Ads policies before publishing; restricted categories include alcohol, tobacco, pharmaceuticals, and medical devices, and violations can remove an entire catalog.
- Tag every destination URL with UTM parameters because Business Profile Insights does not identify which individual product generated a click; use analytics for attribution.
- After profile reinstatement, products may take up to five days to return; do not reupload during processing, because duplicate listings can result.
Table of Contents
- What GBP products are and where they show up
- How to add and edit products with the Product Editor
- Setting up automatic in-store products through POS sync
- Avoiding policy violations that trigger catalog removal
- Fixing rejected products and recovering from suspension
- Tracking tips and quick wins we rely on
- When GBP products are the fastest local marketing win
- How we help you get GBP products set up right
- FAQ
- Sources
What GBP products are and where they show up
Google Business Profile gives you three distinct ways to list items, and picking the wrong one wastes setup time. The Product Editor is built for merchants who sell physical goods but lack barcodes, lack an ecommerce site, or lack real-time stock feeds: you type in each item by hand. In-store products, powered by the Local Inventory app or a connected point-of-sale system, sync your retail catalog automatically once you meet the barcode and verification requirements. Merchant Center listings pull from your online store feed and are meant for businesses already running ecommerce at scale.
Where a product shows up depends partly on which path you took. Shoppers can see your listings in the product carousel on your Business Profile, in Google Search results, on Google Maps, and in some cases the Shopping tab or Google Images. Automated in-store inventory can extend further, sometimes surfacing in contexts like Gemini-powered search or YouTube shopping surfaces, depending on your setup.
Before you commit to a method, run through this quick eligibility check:
- You sell physical products tied to a real location, not purely digital services.
- Your business has a verified Google Business Profile in good standing.
- You either have UPC or EAN barcodes and a compatible point-of-sale system, or you are fine entering products by hand.
- Your catalog avoids restricted categories like alcohol, tobacco, or pharmaceuticals.
A boutique with a dozen handmade items usually fits the Product Editor. A hardware store with barcoded inventory and a modern POS is a better candidate for automatic syncing.
How to add and edit products with the Product Editor
The Product Editor is the fastest route to a live listing, often in well under half an hour.
- Sign in to your Google Business Profile and open the location you want to manage.
- Look for “Products” in the left-hand menu; Google sometimes labels this “Edit products.”
- If your profile is already linked to a Merchant Center account, this click may redirect you into Merchant Center instead, since that becomes the primary source once connected.
- Select “Add product” and fill in the name, a category, a price, and a short description. Keep descriptions concise since Google enforces character limits.
- Add a destination URL that sends shoppers to the right page, whether that is a specific product page or your contact form.
- Upload an image that meets Google’s size and quality specs; clear, well-lit photos convert better than cluttered shots.
- In the United States, you can use Product Studio’s scene generation to create a background for your product photo, though it will not process images containing identifiable people, hands, regulated goods, or certain restricted items.
- Publish the listing. Changes typically appear within a day, though timing can vary.
Pro Tip: Add UTM parameters to every destination URL so you can see exactly which product listings drive clicks in your analytics, since Business Profile Insights alone won’t give you that level of detail.
Editing a live product follows the same path: open the listing, adjust the field, and save. Deleting works the same way, through a remove or archive option next to each item. If you ever see your edit screen jump into Merchant Center and you do not control that account, Google provides a request access flow so you can regain control of your catalog.
Setting up automatic in-store products through POS sync
Automatic syncing removes the manual labor, but only works if your setup meets a specific bar. Eligibility hinges on having UPC or EAN barcodes on your inventory, a verified Business Profile, and a point-of-sale system that Google’s Local Inventory app can read. This path, originally built around the Pointy hardware integration, now runs through compatible POS software or delivery partners who already hold your catalog data.
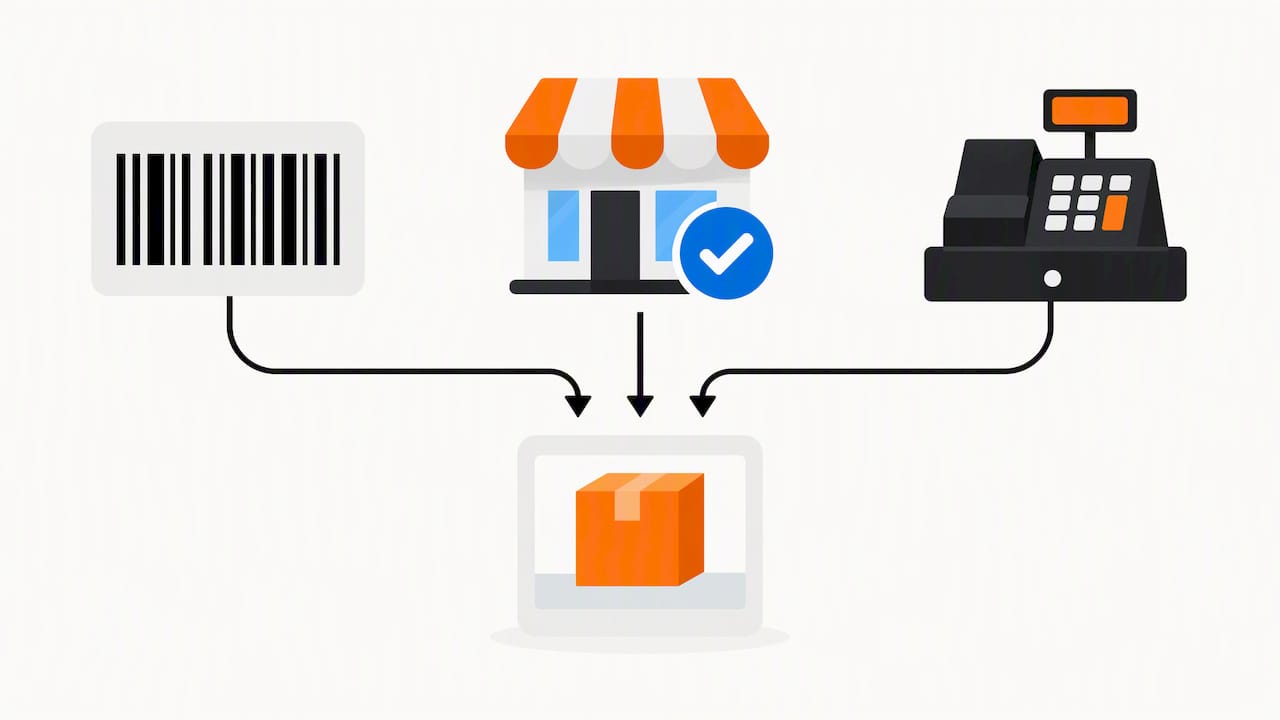
Retailers using common POS platforms or working with a delivery partner that already lists their menu or catalog are often eligible without extra setup, since the data pipe already exists. Once connected, your in-store inventory updates automatically and at no cost, which matters for stores with hundreds of SKUs that would be impractical to enter by hand.
One behavior catches store owners off guard: once an automated source is active, it replaces any manually entered products for that location. You do not run both in parallel. If you decide automation is not working for you, Google lets you opt out or unlink the connected source, which reopens the door to manual entry.
A few checks confirm your inventory is actually live:
- Search your business name on Google and look for the product carousel with your items.
- Check Google Maps for the same listing under the “Products” or “In-store” section.
- Spot-check a few high-turnover items to confirm prices and stock status match your POS in near real time.
- If nothing appears after a reasonable sync window, revisit your POS connection settings before assuming it failed.
Avoiding policy violations that trigger catalog removal
Every product you add, whether typed in manually or synced automatically, has to comply with Google’s Shopping Ads policy and representation guidelines. Violations do not just get one listing rejected. Google can pull your entire product catalog, leave individual items stuck as “not approved,” or in serious cases suspend the whole Business Profile.
Categories that commonly trigger rejection or removal include alcohol, tobacco, gambling-related products, financial services, pharmaceuticals, unapproved supplements, and medical devices. Stores selling anything adjacent to these should review the full policy guidelines before uploading, since enforcement tends to be strict and automated.
Run through this checklist before you hit publish:
- Confirm your category matches an approved product type, not a restricted one.
- Make sure the destination URL actually matches the product described, not a generic homepage.
- Check that claims in your description are accurate and not exaggerated.
- Verify your image follows size, quality, and content rules, with no overlaid text or watermarks.
Pro Tip: When in doubt about a category, list it as something generic and compliant rather than risk a catalog-wide removal over one borderline item.
Fixing rejected products and recovering from suspension
Most rejections trace back to a policy mismatch, a broken destination link, or an image that fails Google’s specs. Start by checking the approval status shown next to each product in your editor, since Google usually flags the reason there.
If your whole Business Profile gets suspended, every attached product automatically flips to “Not Approved,” regardless of how compliant it was before. Once the profile is reinstated, expect a reprocessing window of up to five days before products reappear.
- Confirm the suspension reason in your profile dashboard and correct the underlying issue.
- Request reinstatement through Google’s standard appeal process.
- Wait out the reprocessing window rather than re-uploading products, which can create duplicates.
- If products still have not returned after five days, contact Google Business Profile support directly.
- For Merchant Center-linked catalogs, use the request access option if you lose administrative control during the process.
Tracking tips and quick wins we rely on
GBP Insights alone rarely shows which specific product drove a click-through, so we tag every destination URL with UTM parameters before publishing anything. That single habit turns a vague “it’s working” into real attribution in your analytics.
For small catalogs, consistent naming and tight categories matter more than volume. A few things that keep listings clean:
- Use the same naming pattern across every product, such as “[Item] – [Size/Variant].”
- Group similar items under one category instead of creating a new one for each SKU.
- Shoot photos against a consistent background so your carousel looks like one coherent catalog.
- Batch-upload descriptions and prices from a spreadsheet template to cut setup time on repeat updates.
Quick win: pick your single best-selling item right now and get it live through the Product Editor with SEO tips for voice over professionals. Most store owners can do it in about 15 minutes.
When GBP products are the fastest local marketing win
If you sell physical goods and have not touched your Business Profile’s product tab, that is often the quickest return you will get this month. Start with the Product Editor if you lack barcodes or a POS feed, move to Local Inventory sync once your catalog outgrows manual entry, and reserve Merchant Center for when ecommerce is already central to your business. Add one product today and watch how fast it shows up in Search.
— TONY
How we help you get GBP products set up right
Setting up a product catalog correctly the first time saves you from policy headaches and wasted clicks later. Our team at Ibrand handles the parts that eat up your afternoon: choosing the right method for your catalog, linking Merchant Center without losing access, and building UTM tracking into every listing so you actually know what is working.
- We set up and configure product listings using whichever method fits your inventory.
- We connect and troubleshoot Merchant Center access.
- We build tracking into destination URLs from day one.
If you would rather hand this off than learn the policy fine print yourself, reach out for a consultation and we will map out a plan for your profile.
FAQ
What is the difference between Product Editor and Merchant Center listings?
The Product Editor is for manually entering individual products when you lack barcodes or an ecommerce feed, while Merchant Center pulls from an existing online store feed for broader, cost-free ecommerce listings. Choose based on whether your catalog already lives in a structured feed or needs hand entry.
Can I use both Local Inventory and manual products at the same time?
No, once an automated source like Local Inventory syncing is active for a location, it replaces any manually entered products there. You can unlink the automated source if you want to go back to manual entry.
What happens to my products if my profile gets suspended?
Every product tied to a suspended profile automatically becomes “Not Approved,” and once the profile is reinstated, expect a reprocessing window of up to five days before they reappear. Contact support if products are still missing after that window.
Which product categories are restricted or prohibited?
Categories commonly restricted under Google’s Shopping Ads and representation policies include alcohol, tobacco, gambling, financial services, pharmaceuticals, unapproved supplements, and medical devices. Violations can lead to individual product rejection or removal of your entire catalog.
Is Product Studio’s scene generation available everywhere?
No, Product Studio’s scene generation feature is currently limited to merchants in the United States and will not process images containing identifiable people, hands, or regulated goods. Outside that availability, you will need to supply your own product photography.
Recent Comments